This procedure may need to be performed if the Red Wide Angle Driver was purchased separately from your machine, the driver has been dropped or mishandled, if the initial installation of the driver shows the adjustment to be off, or if prompted by Melco Technical Support.
The Red Wide Angle Driver may need to be adjusted to custom-fit each AMAYA XTS and/or BRAVO machine. A driver that is not properly adjusted to the machine it is used on will result in negative impact to sew out quality and machine productivity and reliability.
Tools Required
The following tools provided in your AMAYA Operator’s Kit will be used:
- Screwdriver, Hex Drive, Ball End, 4mm
- Hex Set, 7 Pieces, Metric Long – 6mm and 2mm
Testing for Appropriate Adjustment
- Install the driver using the instructions for Installing the Red Wide Angle Driver.

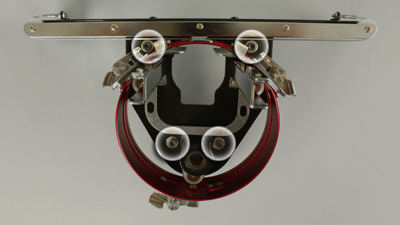
- Position the driver so that the bushing is aligned to the front of the support shaft and the driver ring is centered with the hole in the needle plate. Reference the ring's frame location tab.

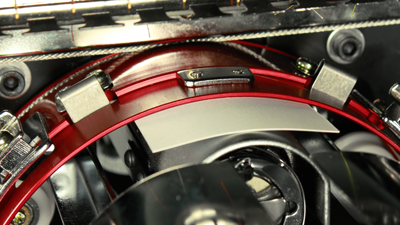
- Place a business card of medium to heavy stock (or equivalent) between the needle plate and the driver ring. A single business card should be able to slide between them with little resistance. A gap of two business cards is acceptable.

- If the gap is too small or too large, the driver will need to be adjusted using the steps below.
Adjustment Procedure
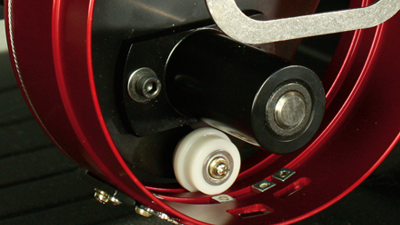
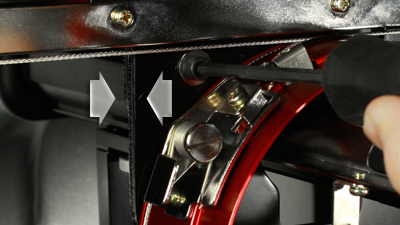
- Begin by loosening the two bearing block hex screws and the two interface bracket screws using the 4mm hex screwdriver from the Operator's Kit.


- Install the Red Wide Angle Driver on your machine. See the installation section of the document for details.
- Position the driver so that the bushing is aligned to the front of the support shaft and the driver ring is centered with the hole in the needle plate. Reference the ring's frame location tab.


- Place a business card of medium to heavy stock (or equivalent) between the needle plate and the driver ring. This will act as a spacer. The ring should just rest on the card.

- Making sure the edges of the two black brackets are aligned, tighten one of the upper screws.

- Tighten the opposite screw securing the bearing mounting block.

- Tighten the second upper screw securing the bracket and then the second lower screw securing the bearing mounting bracket. Tightening these four screws in a star-like pattern achieves the best results. Then remove the business card.

- Move the y-beam and x-carriage by hand to ensure there is no binding. This can only be accomplished with the machine off or the e-stop engaged.
If using the red wide angle driver with the Conventional Cap Frame or any of the micro-clamps, the cap support wings must be removed to prevent interference with the frames.