To insure that the following steps occur correctly, it is very important to close all applications.
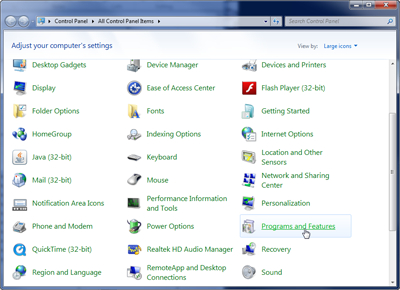
From your Start menu, go to the Control Panel and click on the Add/Remove Software icon.
In Windows 7 & 8, this is called "Programs and Features".
The area will become highlighted; click on the Change/Remove ("Uninstall/Change" in later Windows versions) button.
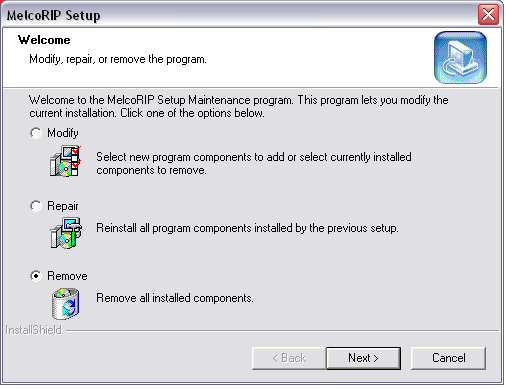
The MelcoRIP setup window may come up and you will need to click on the "Remove" radial button. Then, click the Next button. Finally, click on the "Finish" button when the uninstall wizard is done.
Using Windows Explorer, delete any MelcoRIP folders. If given the default location on installation, they will be found on Local disk C:\.
Delete "MelcoRIP" and "MelcoRIP Hot Folder".
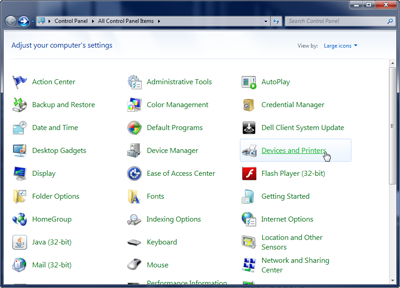
Go back into the Control Panel (the window that is minimized) and click on the icon for Printers & Faxes.
In Windows 7 & 8, this is called Devices and Printers.
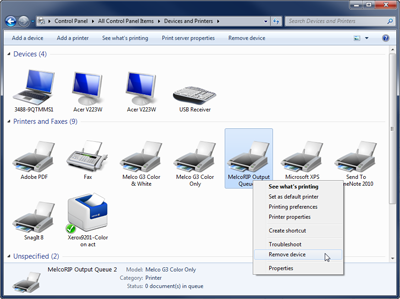
You will now need to delete all of the Melco printers and any MelcoRIP queues you may have created.
In Windows 7, this must be done by right-clicking on an individual printer or queue and selecting "Remove Device".
From Devices/Printers, right click on the Epson 3880 or 4880 printer and delete MelcoRIP Output Queues 1 and 2 under "Delete Print Queue".
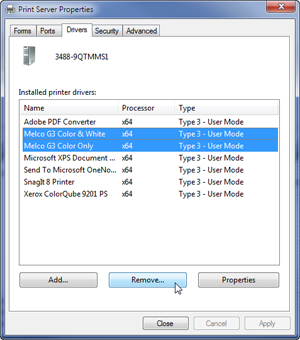
Once the MelcoRIP Printers are deleted, you will need to go to Server Properties. In XP, this is under the "File" menu. In the Server Properties window, click on the Drivers tab and delete any of the Melco printer or MelcoRIP queue drivers.
Once this is completed, closed all the windows and restart your computer.