![]()
The color change linear actuator will show obvious signs such as overheating or electrical burn when it needs to be replaced in the majority of situations. However, signs such as uneven or "jumpy" movement noticed when turning the actuator shaft by hand or other troubleshooting tests that indicate that the actuator has failed are other situations in which replacement is appropriate.
|
|
This repair requires timing and other adjustments and can only be done by a Melco authorized service technician. |
Replacement Part Needed:
Actuator, Linear, Color Change
Replacement Procedures:
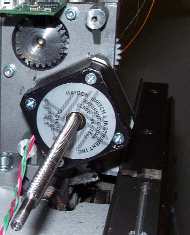
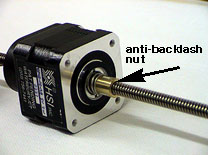
Figure 1 - Color Change Linear Actuator
|
|
Note: If you do not have the ability to color change because the motor has failed electrically or because of a mechanical failure go to Step 2. |
2. Turn the machine OFF.
3. Remove the needle bar access cover, the needlecase cover, and the color change covers..
4. Disconnect the color change stepper motor harness.
5. Loosen the screw on both the right and left spindle bracket that clamps the spindle.
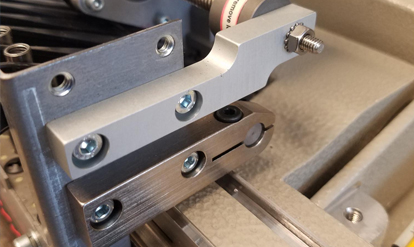
Figure 2 - Right Color Change Spindle Mounting Bracket
6. Remove the two screws mounting the right color change spindle mounting bracket to the needle case. Then remove the M4 Kept hex nut from the end of the color change spindle, remove the right color change spindle mounting bracket from the color change spindle.
|
|
|
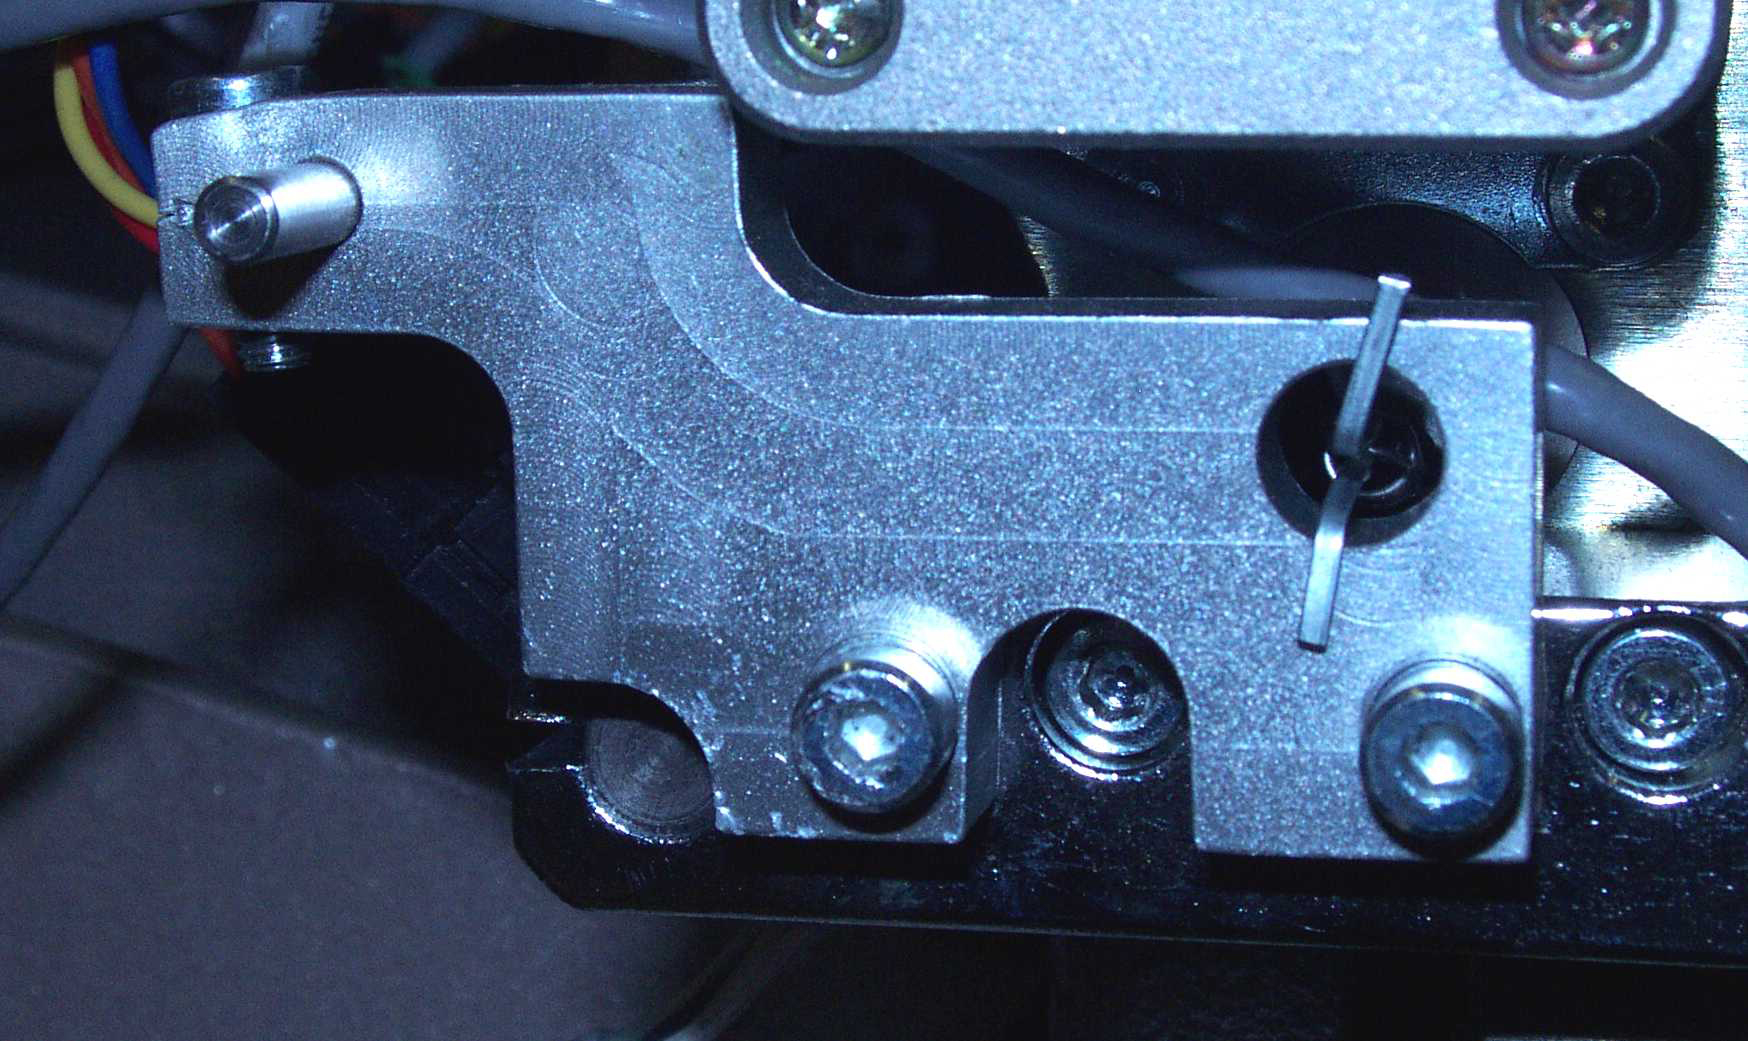
Figure 4 - Left Color Change Spindle Mounting Bracket
7. Move the needlecase assembly by hand to the left until the spindle is freed from the left color change mounting bracket.
8. Remove the 3 motor mounting screws and remove the color change stepper motor from the color change housing.
9. Loosen (do not remove) the two screws that mount the left color change spindle mounting bracket to the needlecase.
10. Install the replacement color change stepper motor onto the housing making sure that the wires coming out of the motor face the back of the machine and down as shown in Figure 1.
11. Re-tighten the 3 motor mounting screws.
12. Turn the spindle clockwise and insert the left end of the spindle into the left spindle mounting bracket until the threaded portion of the spindle is flush against the bracket.
13. Tighten the screw that clamps the bracket to the spindle.
14. Mount the right color change spindle mounting bracket to the needlecase. Tighten the clamping screw. Leave the screws that mount the bracket to the needlecase loose.
15. Connect the color change motor harness to the motor.
16. Turn the machine ON.
17. Color change to Needle 16, tighten the two screws on the left color change spindle mounting bracket.
18. Color change to Needle 1 and tighten the two screws on the right color change spindle mounting bracket.
19. Check for free movement of the color change from Needle 16 to Needle 1.
20. If any noticeable binding occurs, repeat steps 18-20 until color changing from Needle 1 to Needle 16 and back is smooth and consistent.
21. Install the needlecase cover and access cover, and color change covers.
22. Run a short functional test using Melco test design AMPASSXXX with the machine in the unthreaded mode. Visually observe the color change functions and make sure everything was properly installed and adjusted. It is only necessary to run the machine through all 16 needles, then the functional test can be stopped as long as everything is correct.
23. Run Melco test design AMTTTESTXXX to test color change functions.
![]()